In this Article |
Nothing under the hood has changed.
All your data, modules, and workflows are exactly where they were. This update is cosmetic only — cleaner layouts larger fonts and a modern look. The steps you follow every day are the same.
Users must have .net Framework 4.8 installed.
This is preinstalled on Windows 10 and Windows Server 2022 or newer, but for clients running Windows Server 2019 or older will need their IT team to ensure .net Framework 4.8 is installed.
Note that Windows 7, Windows Server 2019, and older OS are end of life and no longer officially supported by Microsoft or Ezy Systems.
What's New at a Glance
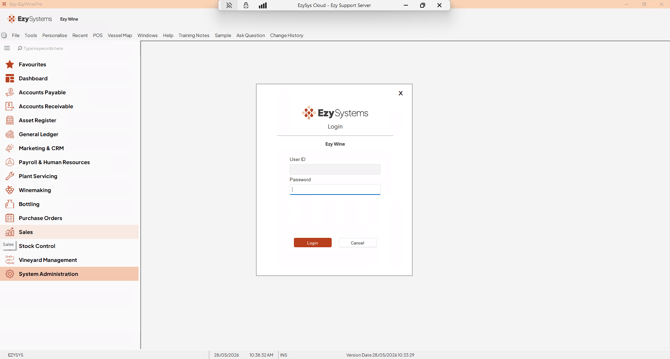
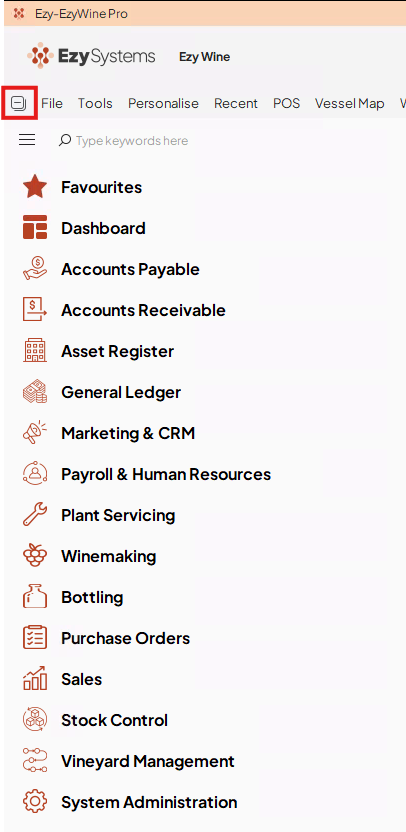
The old file-tree list and toolbar of small icons have been replaced with a clean icon sidebar on the left and a search bar at the top. Every module you used before is still there — just with a new look.
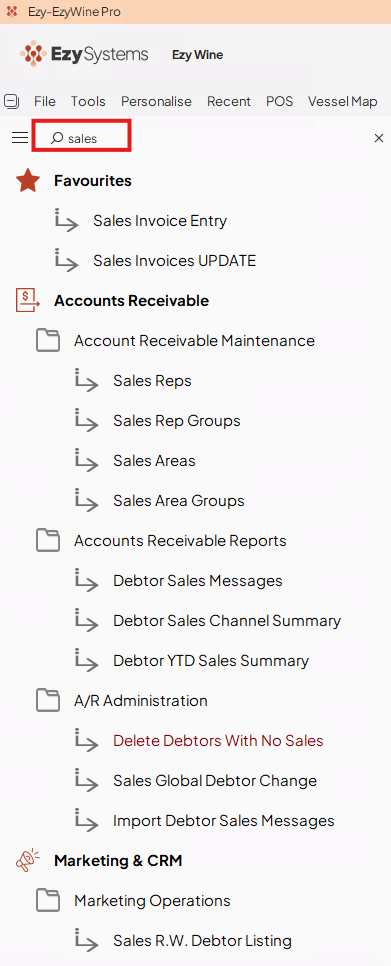
Using the New Search Bar
At the top of the sidebar, you will see a "Type keywords here" search box.
- Click the search box or start typing any module name (e.g., Sales, Payroll).
- The sidebar filters instantly to show only matching modules.
- Click the module name to open it.
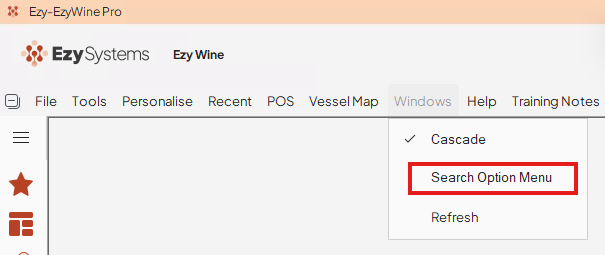
Tip: To search by program code (e.g., GLJ01, APT01), use Windows → Search Option Menu in the top menu bar — not the sidebar search box.
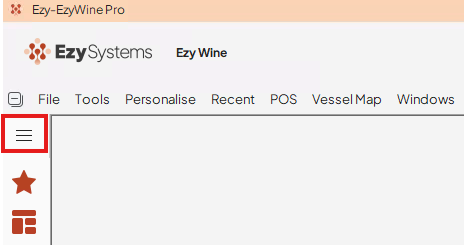
The Hamburger Menu (☰) Collapse the Sidebar
The ☰ icon sits at the top-left corner of the sidebar. Click it to toggle between a full labelled sidebar and a compact icon-only view — useful on smaller screens.
- Full sidebar: module icons with text labels visible.
- Collapsed sidebar: icons only, hover to see the module name.
- Click ☰ again to expand back to full view.
Collapse All Button
There is also a Collapse All button in the very top left corner of the application. Click it to collapse all open module sub menus in the side bar at once - handy if you have drilled into several modules and want to reset the view quickly.
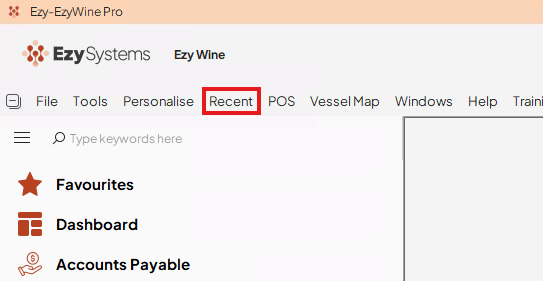
Where Has Recent Gone?
The Recent menu has moved — it is now in the top menu bar alongside File, Tools, Personalise, and POS. Click Recent to see the last screens you had open, exactly as before.
Changing Your Screen Colours (SYS06)
Requires System Administration permissions. Use this to give each company data set a distinct colour so staff always know which database they are working in.
- Go to System Administration → Screen Colour Theme (screen code: SYS06).
- Click the Tool Strip Background dropdown and pick a colour from the palette or click More Colours... to enter a specific RGB value.
- Optionally adjust Prompt, Current Input, and Contrast Colour to match your branding.
- Click Save. The colour applies immediately for all users in that data set.
- The font Plus Jakarta Sans is hard coded however the font size can be enlarged. We recommend not going larger than a size 12 font as menu names can exceed a single line. Changing the font here will only impact all users for the Menu options on the left of the screen.
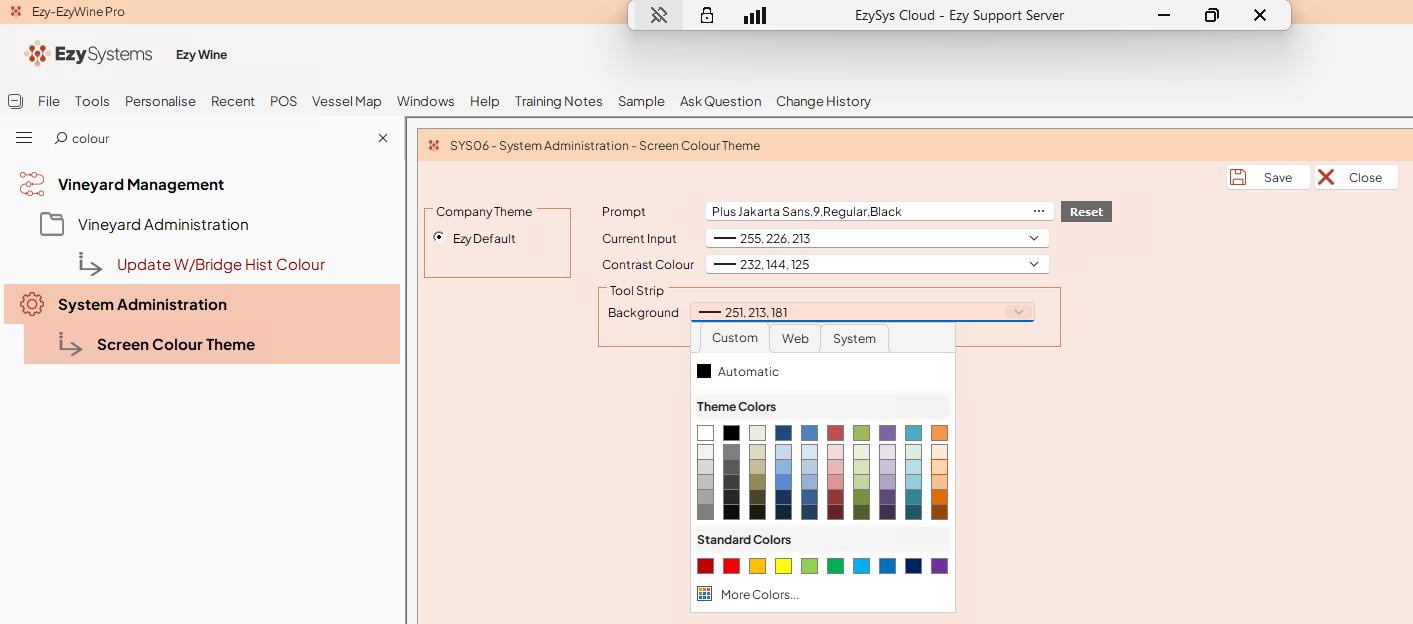
Changed your mind? Click Reset (next to the Prompt field) to revert to Ezy defaults before saving.
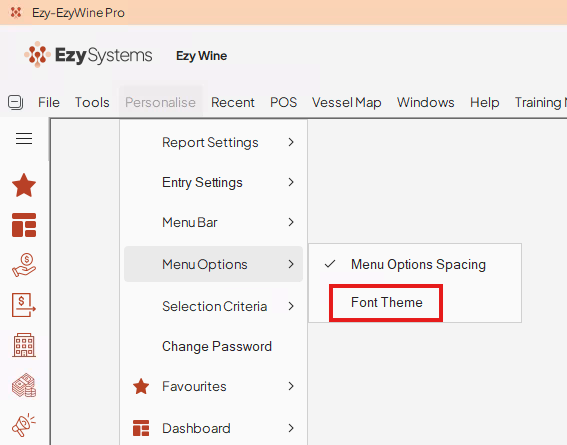
Enlarge Your Font Size
To enlarge the Font size for your user access, use the Personalise menu located along the top menu bar. Select Menu Options & Font Theme option. This will provide a pop out window where you can change the Font size.
The Plus Jakarta Sans font is Static and only the Font Style or Size that can be changed.
Adding Your Company Logo (SYS02)
Requires System Administration permissions. Your logo appears next to the Ezy Systems logo at the top-left of every screen.
Prepare your logo file
- Format: PNG with a transparent background (recommended).
- Recommended size: approximately 300 x 70 pixels at 72 dpi.
- SVG is NOT supported. Convert to PNG first.
- Save the file into the images folder inside your Ezy root folder on the server.
- Keep the file name short & concise as the Parameter holds a maximum of 30 characters.
Set the logo in SYS02
- Go to System Administration → System Parameters (screen code: SYS02).
- Type logo in the Parameter filter row.
- The row General: Company Logo will appear. Enter the file path to your PNG in the Current Setting column.
- Click Save. Log out and back in to see the logo appear.

Please Note: Parameter Max Length
The file path is free text and a maximum of 30 characters.
Ensure you keep your logo file path concise. A single character error means no logo will display.
Always test by logging out and back in.